 DE
DE  EN
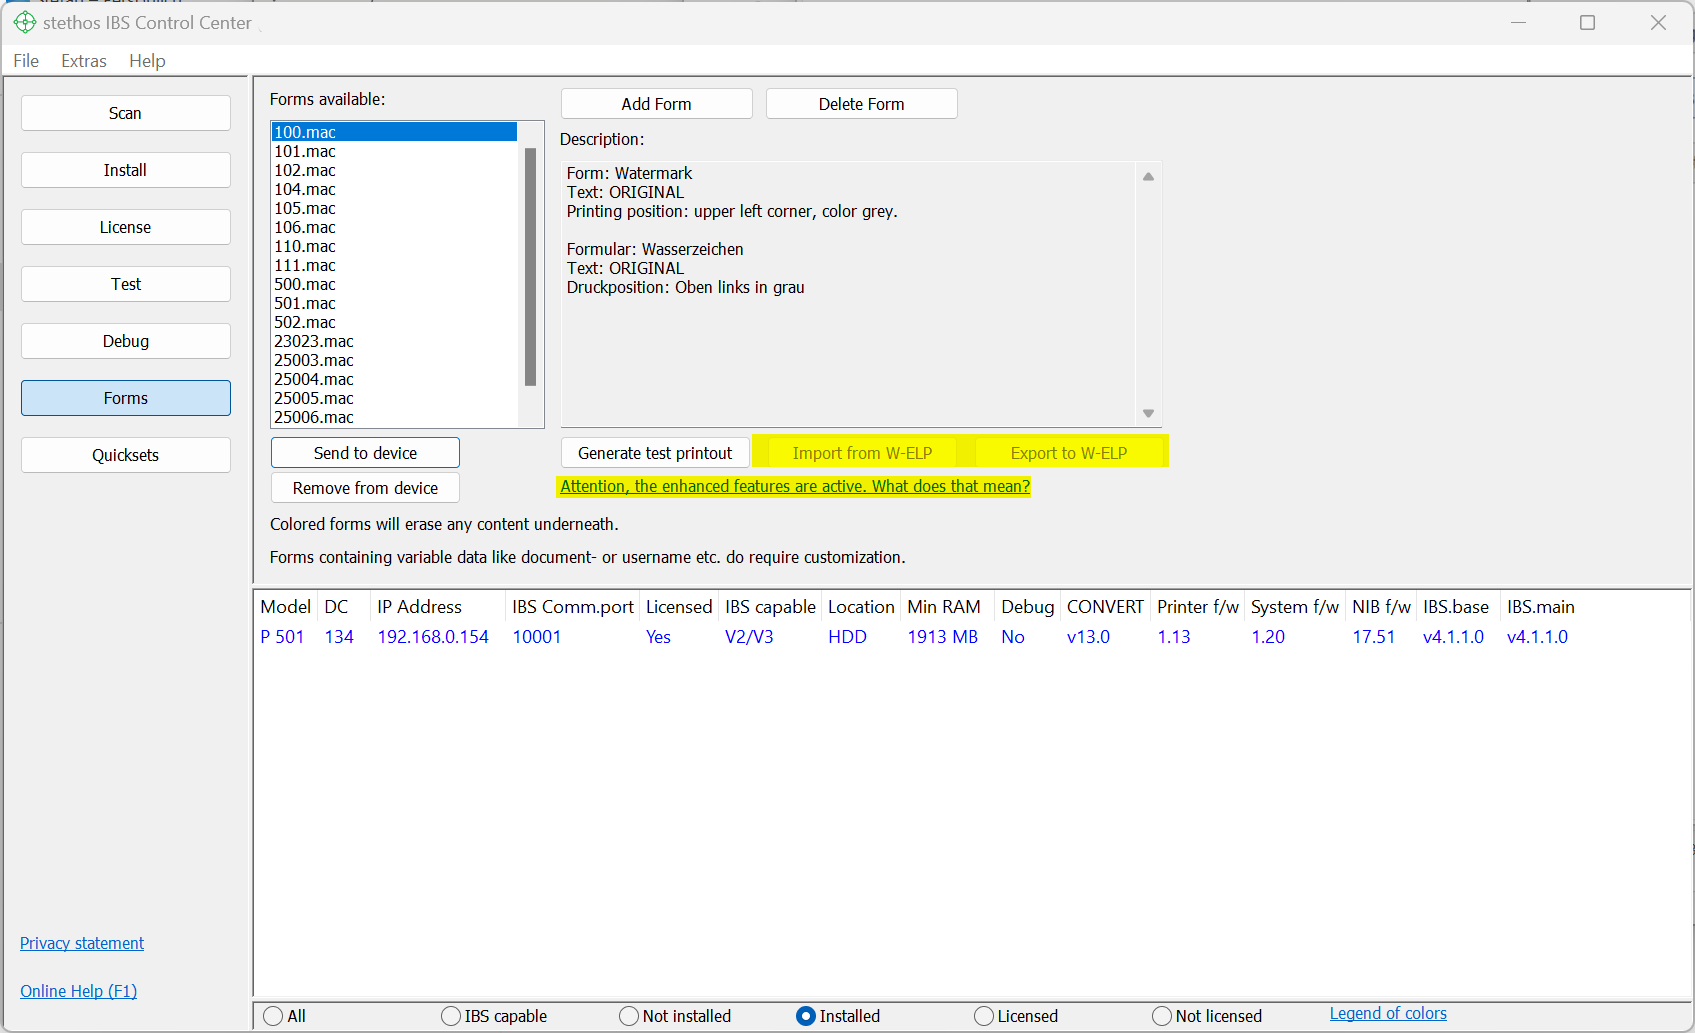
EN Is the Import-/Export to W-ELP button missing?
The main functions of this option are the following:
- Convert a PCL5 (or PCL5e or PCL5c) PRN (print-to-file) to an electronic form (Macro) which is reflected by a number afterwards.
- Send the form (Macro) to the printer primary permanent storage (e.g. HDD, SSD or eMMC).
A form can be a freely positioned signature, a watermark, a letterhead or just any kind of pre-printed form. It can be black and white or color. IBS CC offers easy capabilities to add forms by their number to every single page of every single copy. It allows you to add different forms like advertisements, insertions or terms and conditions as an example.
The so called printer Macros (= PCL5 forms) can be used by some forms and printer management rules, defined and downloaded to the printing device using the Quickset Letterhead and Reprints function of IBS CC.
This screen does generate, test, delete, import and export forms from/to ELP (Enhanced Laser Printing which is the server based version of IBS).
The capabilities for "generate forms" are:
| Add Form |
This function is described in detail below this table.
|
|
| Delete Form | Deletes the selected form including its description. Multiple selections are allowed. Note: The form does not delete the form in the device but only in IBS CC form repository. | |
| Generate test printout |
|
|
| Send to device | Sends the selected macro(s) to the permanent storage of Ricoh device. | |
| Remove from device | Deletes the selected macro(s) to the permanent storage of Ricoh device. Notes: Sending the delete command is "fire and forget". This means that there is neither any check if the Macro(s) was/were on the storage before or after this operation. |
|
| Import from W-ELP | Is only selectable if IBS CC finds an installation of ELP on the same PC/Notebook. You can import any form and its description from that server into the IBS CC. If you have a copy of ELP on another PC, then simply copy from the Work path folder (default: c:\ProgramData\WELP) the needed forms into the c:\ProgramData\IBS_CC\forms folder the form (*.mac file) and its description (*.mat). |
|
| Export to W-ELP | Only in reverse. Sends forms files and their descriptions to ELP. | |
| Table and button below | The device table in the Forms overview shows only the devices which had been found during the network scan. Is a certain device missing from the table, please check the device and make sure that
|

Error handling
In any case the form should be printed correctly using the test button. If not, please send the PRN file with a short description to
Using the form with your real live data stream you see huge black bars over the form, you might need to change the device settings: start your internet browser, type in the IP address of your device – Login – Configuration – Printer – Basic settings – Memory usage – Set Font priority.
Adding own forms
If you have also W-ELP installed do not print the form through an ELP enabled Queue/Driver, as ELP may then insert the Demo watermark on the page.
-
Generate a form with any program, for example MS Word. You may add any font, any graphic, but we recommend using printer internal fonts. If you intend to print watermarks then install ELP and use the provided MS Word Forms & Field Installer document.
-
The most convenient way to install forms is to print it (generated document) into a file. It is a must to use a PCL5 printer driver in any case!
It is recommended to install the driver for your oldest used printer and name the queue "IBS FORM". -
After the form is designed, the signature or Logo has been positioned on the blank page, simply print the document using the PCL5 printer driver to file. The storage location can be anywhere.
If the printing user interface of your preferred application does not offer "print to file", change the port of your queue to "File" -
Click on Add and select on the next menu the previously printed forms file.
-
Then fill out the next window:
| Form ID | The ID is the IBS internal name for the form. The value entered must be between 1000 and 32000. Notes:
 |
| Turn transparency mode to ON | The converter turns on all NON transparency commands as a default in the data stream into the transparency mode. The form can be overlaid on the data and does not wipe any underlying data off. In rare cases and mostly in color forms, this turns into faulty results. Just disable this function in such cases. It is also recommended to turn it off for all forms which are exclusively called with the ELP_Command G. |
| Mark if form is in color | Special setting is applied, the form will start printing in a well-defined color mode. |
| Shift (x y) | If the form is not well placed on the paper when using it with variable data the whole form can be x/y moved on the paper during the import process. |
| Description | Enter any description that other Administrators will be able to understand the content of your forms. |
Finally, we recommend to generate a test printout on a device in order to see if the form overlay was properly integrated into the IBS CC form repository. After finished you can continue with developing your printer and forms management setting using the Letterhead or Reprint functionality of IBS Control Center.
Related articles: ELP Self-training, Generate and usage of ELP forms, ELP_Command